Ledger.com/Start – Official Ledger Hardware Wallet Setup
Welcome to Ledger.com Start — the official entry point for setting up your Ledger hardware wallet. This professional onboarding guide walks you through initializing your device, securing your PIN, recording your recovery phrase, and connecting to Ledger Live safely.
1. Introduction to Ledger Hardware Wallets
Ledger hardware wallets provide the highest standard of security for digital assets by keeping your private keys offline. The Ledger.com Start process ensures every device begins from a secure foundation, verified firmware, and trusted key creation.
2. Verify Device Authenticity
Before setup, confirm that your Ledger packaging is sealed and the device is genuine. Ledger hardware wallets include an internal verification system that confirms authenticity when paired with Ledger Live.
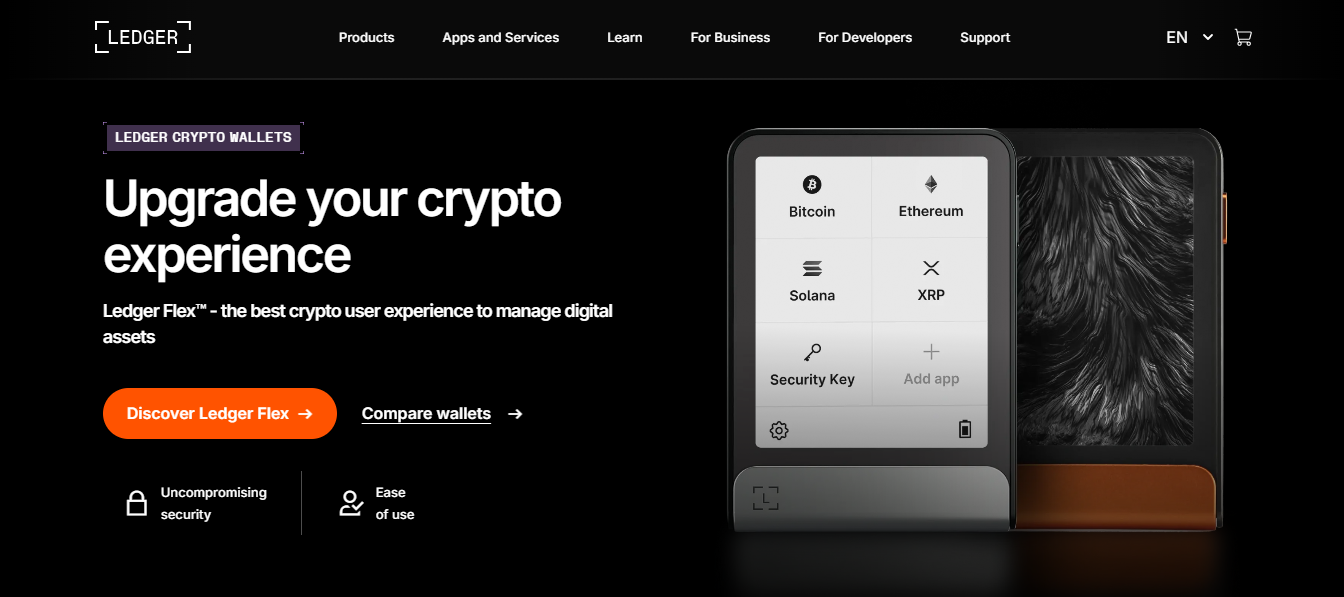
3. Install Ledger Live
Ledger Live is the official application used to manage your crypto portfolio, install apps, and perform firmware updates. Your keys never leave your device — Ledger Live simply provides a secure management interface.
4. Initialize Your Ledger Device
Power on your Ledger and choose “Set up as new device.” The device will generate a unique private key within its secure chip. This step ensures all cryptographic operations remain completely isolated from your computer or internet connection.
5. Create Your Secure PIN
You’ll be asked to set a 4–8 digit PIN directly on the device. This protects against unauthorized access. After multiple incorrect attempts, your device resets automatically to safeguard your information.
6. Backup Your Recovery Phrase
The device displays a 24-word recovery phrase. Write it down on paper and store it safely offline — it’s your only recovery option if your device is lost or reset. Never enter it on any website, computer, or phone.
7. Verify Firmware Security
Ledger firmware updates are digitally signed by Ledger to ensure authenticity. Only install official updates through Ledger Live — never from third-party sources.
8. Connect Your Wallet to Ledger Live
Follow on-screen instructions to pair your hardware wallet. Once connected, you can add accounts, manage crypto assets, and track your portfolio with full security assurance.
9. Confirm Every Transaction Physically
All transactions must be reviewed and confirmed on your Ledger device. This prevents unauthorized activity even if your computer is compromised. Always check addresses and amounts before approving.
10. Maintain Long-Term Safety
- Keep your PIN and recovery phrase private at all times.
- Use only the official Ledger Live application for management.
- Store recovery information offline and never share it.
- Verify firmware authenticity during every update.
- Disconnect your Ledger when not actively using it.
11. Troubleshooting and Assurance
If your device isn’t recognized, restart both Ledger Live and the hardware wallet, then reconnect via a direct USB port. Your assets remain safe — private keys never leave the secure element.